

You will need:
1/2 yard of 2 different fabrics (I used Printed Duck since it's a thick fabric. It just seemed more durable to me!)
2 yards coordinating webbing
1/4 yard batting

Cute the fabric to these measurements:
2 pieces of batting 15 x 10
2 bag pieces 15 x 20.5 (make sure your fabric is going to right way if it matters. The 15" side will go from left to right.)
2 pocket pieces 15 x 16.5 (again make sure your fabric is going the right way, the 15" side wide will go from left to right.)
Webbing - cut into 2 equal pieces, each 1 yard

Now that everything is cut, let's begin!
Fold your pocket piece in half and press. Then layer your pieces batting on bottom, bag piece and then the folded pocket piece.

You should have two sets of these.
Now pin the straps to the fabric. Start at the bottom and the straps need to be centered and about 4" from each other.


Now place your two sides right sides facing each other and pin along the edge. (Watch out for the straps)

After you sew all around, leaving the 5" opening at the top, it is time to do the corners. Take each corner and press it down. Pin it so it is 2" from the corner and 4" aross.


Then take your fabric and make it right side out.


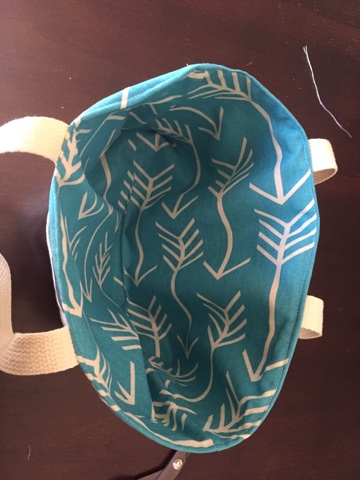
The bag didn't turn out as big as I thought it would. It's about 9&1/2" tall and 14" wide. I think tomorrow I'm going to try another one but double the size of everything!
Happy Sewing!!
No comments:
Post a Comment